Honda enthusiasts often seek ways to enhance their vehicle’s performance. One popular upgrade is installing the Honda RBC intake manifold. This modification can significantly improve airflow and engine efficiency, leading to increased horsepower and torque. While it may seem daunting at first, installing the Honda RBC intake manifold can be accomplished with the right tools and a step-by-step approach. In this guide, we’ll walk you through the process in a user-friendly manner, ensuring that even beginners can tackle this upgrade with confidence.
Understanding the Honda RBC Intake Manifold
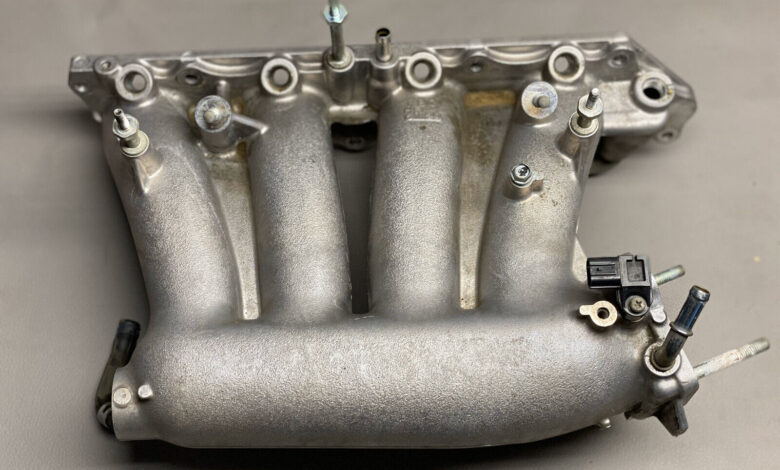
Before diving into the installation process, it’s essential to understand the significance of the Honda RBC intake manifold. The RBC manifold is renowned for its superior airflow characteristics, making it a sought-after upgrade for Honda enthusiasts looking to maximize performance. With its optimized design, the RBC manifold promotes smoother airflow into the engine, resulting in improved combustion and power delivery.
Tools and Materials You’ll Need
Before starting the installation process, gather the following tools and materials:
- Honda RBC intake manifold
- Intake manifold gasket
- Socket wrench set
- Torque wrench
- Screwdrivers
- Gasket scraper
- Engine coolant (if necessary)
- Replacement hoses and clamps (if necessary)
With these tools and materials on hand, you’re ready to begin the installation process.
Step-by-Step Installation Guide
- Prepare Your Workspace: Start by ensuring that your vehicle is parked on a level surface and the engine has cooled down. Open the hood and disconnect the negative terminal of the battery to prevent any electrical mishaps.
- Remove the Old Intake Manifold: Locate the existing intake manifold on your Honda engine. Begin by disconnecting any hoses, sensors, and electrical connectors attached to the manifold. Use a socket wrench to loosen and remove the bolts securing the manifold to the engine block. Carefully lift the old manifold away from the engine, taking care not to damage any surrounding components.
- Clean the Mounting Surface: Use a gasket scraper to remove any remnants of the old gasket from the engine’s mounting surface. Ensure that the surface is clean and free of debris to ensure a proper seal with the new intake manifold.
- Install the New Intake Manifold: Place the new Honda RBC intake manifold onto the engine, aligning it with the mounting studs. Double-check that all hoses, sensors, and electrical connectors are properly positioned and reconnected. Insert new bolts into the mounting holes and hand-tighten them to secure the manifold in place.
- Tighten the Bolts: Using a torque wrench, gradually tighten the bolts in a crisscross pattern to ensure even pressure distribution. Refer to the manufacturer’s specifications for the appropriate torque settings for your specific Honda model.
- Reconnect Hoses and Sensors: With the intake manifold securely in place, reconnect any hoses, sensors, and electrical connectors that were detached during the removal process. Ensure that each connection is snug and secure to prevent any leaks or malfunctions.
- Refill Coolant (if Necessary): If you had to disconnect any coolant hoses during the installation, refill the coolant reservoir to the appropriate level. Check for any signs of leakage around the connections and tighten them as needed.
- Double-Check Everything: Before closing the hood, take a final look at your work to ensure that everything is properly installed and connected. Check for any loose bolts, disconnected hoses, or overlooked components that may need attention.
- Start the Engine: Reconnect the negative terminal of the battery and start the engine. Allow it to idle for a few minutes, checking for any abnormal sounds or leaks. Once satisfied, take your Honda for a test drive to experience the benefits of your newly installed RBC intake manifold.
Conclusion
Installing a Honda RBC intake manifold can be a rewarding upgrade for any Honda enthusiast seeking improved performance and engine efficiency. By following this step-by-step guide, you can confidently tackle the installation process and enjoy the benefits of smoother airflow and increased power delivery. Remember to take your time, follow the manufacturer’s recommendations, and double-check your work to ensure a successful installation. With patience and attention to detail, you’ll be well on your way to unlocking the full potential of your Honda vehicle.
For more info: Accord Electronics